


注意
点击此处下载完整的示例代码
ONNX 简介 || 将 PyTorch 模型导出到 ONNX || 扩展 ONNX 导出器算子支持 || 导出带有控制流的模型到 ONNX
将 PyTorch 模型导出到 ONNX
创建于:2023 年 10 月 04 日 | 最后更新于:2025 年 03 月 05 日 | 最后验证于:2024 年 11 月 05 日
作者:Ti-Tai Wang, Justin Chu, Thiago Crepaldi。
注意
截至 PyTorch 2.5,ONNX Exporter 有两个版本。
torch.onnx.export(..., dynamo=True)是最新的(仍在 beta 阶段)导出器,它使用torch.export和 Torch FX 捕获图。它随 PyTorch 2.5 发布。torch.onnx.export使用 TorchScript,自 PyTorch 1.2.0 起可用。
在60 分钟闪电战中,我们有机会从高层面了解 PyTorch 并训练了一个小型神经网络进行图像分类。在本教程中,我们将扩展此内容,描述如何使用 torch.onnx.export(..., dynamo=True) ONNX 导出器将 PyTorch 中定义的模型转换为 ONNX 格式。
尽管 PyTorch 非常适合模型开发的迭代过程,但模型可以使用不同的格式部署到生产环境,包括 ONNX (开放神经网络交换)!
ONNX 是一种灵活的开放标准格式,用于表示机器学习模型。标准化的机器学习表示允许模型在各种硬件平台和运行时环境中执行,从基于云的大规模超级计算机到资源受限的边缘设备,例如您的网络浏览器和手机。
在本教程中,我们将学习如何:
安装所需的依赖项。
编写一个简单的图像分类器模型。
将模型导出为 ONNX 格式。
将 ONNX 模型保存到文件中。
使用 Netron 可视化 ONNX 模型图。
使用 ONNX Runtime 执行 ONNX 模型
将 PyTorch 的结果与 ONNX Runtime 的结果进行比较。
1. 安装所需的依赖项
由于 ONNX 导出器使用 onnx 和 onnxscript 将 PyTorch 算子转换为 ONNX 算子,因此我们需要安装它们。
pip install --upgrade onnx onnxscript
2. 编写一个简单的图像分类器模型
环境设置好后,让我们开始使用 PyTorch 建模我们的图像分类器,就像我们在60 分钟闪电战中所做的那样。
import torch
import torch.nn as nn
import torch.nn.functional as F


class ImageClassifierModel(nn.Module):
    def __init__(self):
        super().__init__()
        self.conv1 = nn.Conv2d(1, 6, 5)
        self.conv2 = nn.Conv2d(6, 16, 5)
        self.fc1 = nn.Linear(16 * 5 * 5, 120)
        self.fc2 = nn.Linear(120, 84)
        self.fc3 = nn.Linear(84, 10)

    def forward(self, x: torch.Tensor):
        x = F.max_pool2d(F.relu(self.conv1(x)), (2, 2))
        x = F.max_pool2d(F.relu(self.conv2(x)), 2)
        x = torch.flatten(x, 1)
        x = F.relu(self.fc1(x))
        x = F.relu(self.fc2(x))
        x = self.fc3(x)
        return x
3. 将模型导出为 ONNX 格式
模型定义好后,我们需要实例化它并创建一个随机的 32x32 输入。接下来,我们可以将模型导出为 ONNX 格式。
torch_model = ImageClassifierModel()
# Create example inputs for exporting the model. The inputs should be a tuple of tensors.
example_inputs = (torch.randn(1, 1, 32, 32),)
onnx_program = torch.onnx.export(torch_model, example_inputs, dynamo=True)
/usr/local/lib/python3.10/dist-packages/onnxscript/converter.py:823: FutureWarning:

'onnxscript.values.Op.param_schemas' is deprecated in version 0.1 and will be removed in the future. Please use '.op_signature' instead.

/usr/local/lib/python3.10/dist-packages/onnxscript/converter.py:823: FutureWarning:

'onnxscript.values.OnnxFunction.param_schemas' is deprecated in version 0.1 and will be removed in the future. Please use '.op_signature' instead.

[torch.onnx] Obtain model graph for `ImageClassifierModel([...]` with `torch.export.export(..., strict=False)`...
[torch.onnx] Obtain model graph for `ImageClassifierModel([...]` with `torch.export.export(..., strict=False)`... ✅
[torch.onnx] Run decomposition...
[torch.onnx] Run decomposition... ✅
[torch.onnx] Translate the graph into ONNX...
[torch.onnx] Translate the graph into ONNX... ✅
3.5. (可选)优化 ONNX 模型
ONNX 模型可以通过常量折叠和消除冗余节点进行优化。优化是就地进行的,因此原始 ONNX 模型会被修改。
正如我们所见,模型无需进行任何代码更改。生成的 ONNX 模型作为二进制 protobuf 文件存储在 torch.onnx.ONNXProgram 中。
4. 将 ONNX 模型保存到文件中
尽管将导出的模型加载到内存中在许多应用中很有用,但我们可以使用以下代码将其保存到磁盘:
onnx_program.save("image_classifier_model.onnx")
你可以使用以下代码将 ONNX 文件重新加载到内存中,并检查其格式是否正确:
import onnx

onnx_model = onnx.load("image_classifier_model.onnx")
onnx.checker.check_model(onnx_model)
5. 使用 Netron 可视化 ONNX 模型图
模型保存到文件中后,我们可以使用 Netron 对其进行可视化。Netron 可以安装在 macOS、Linux 或 Windows 计算机上,也可以直接从浏览器运行。让我们通过打开以下链接来尝试网页版:https://netron.app/。
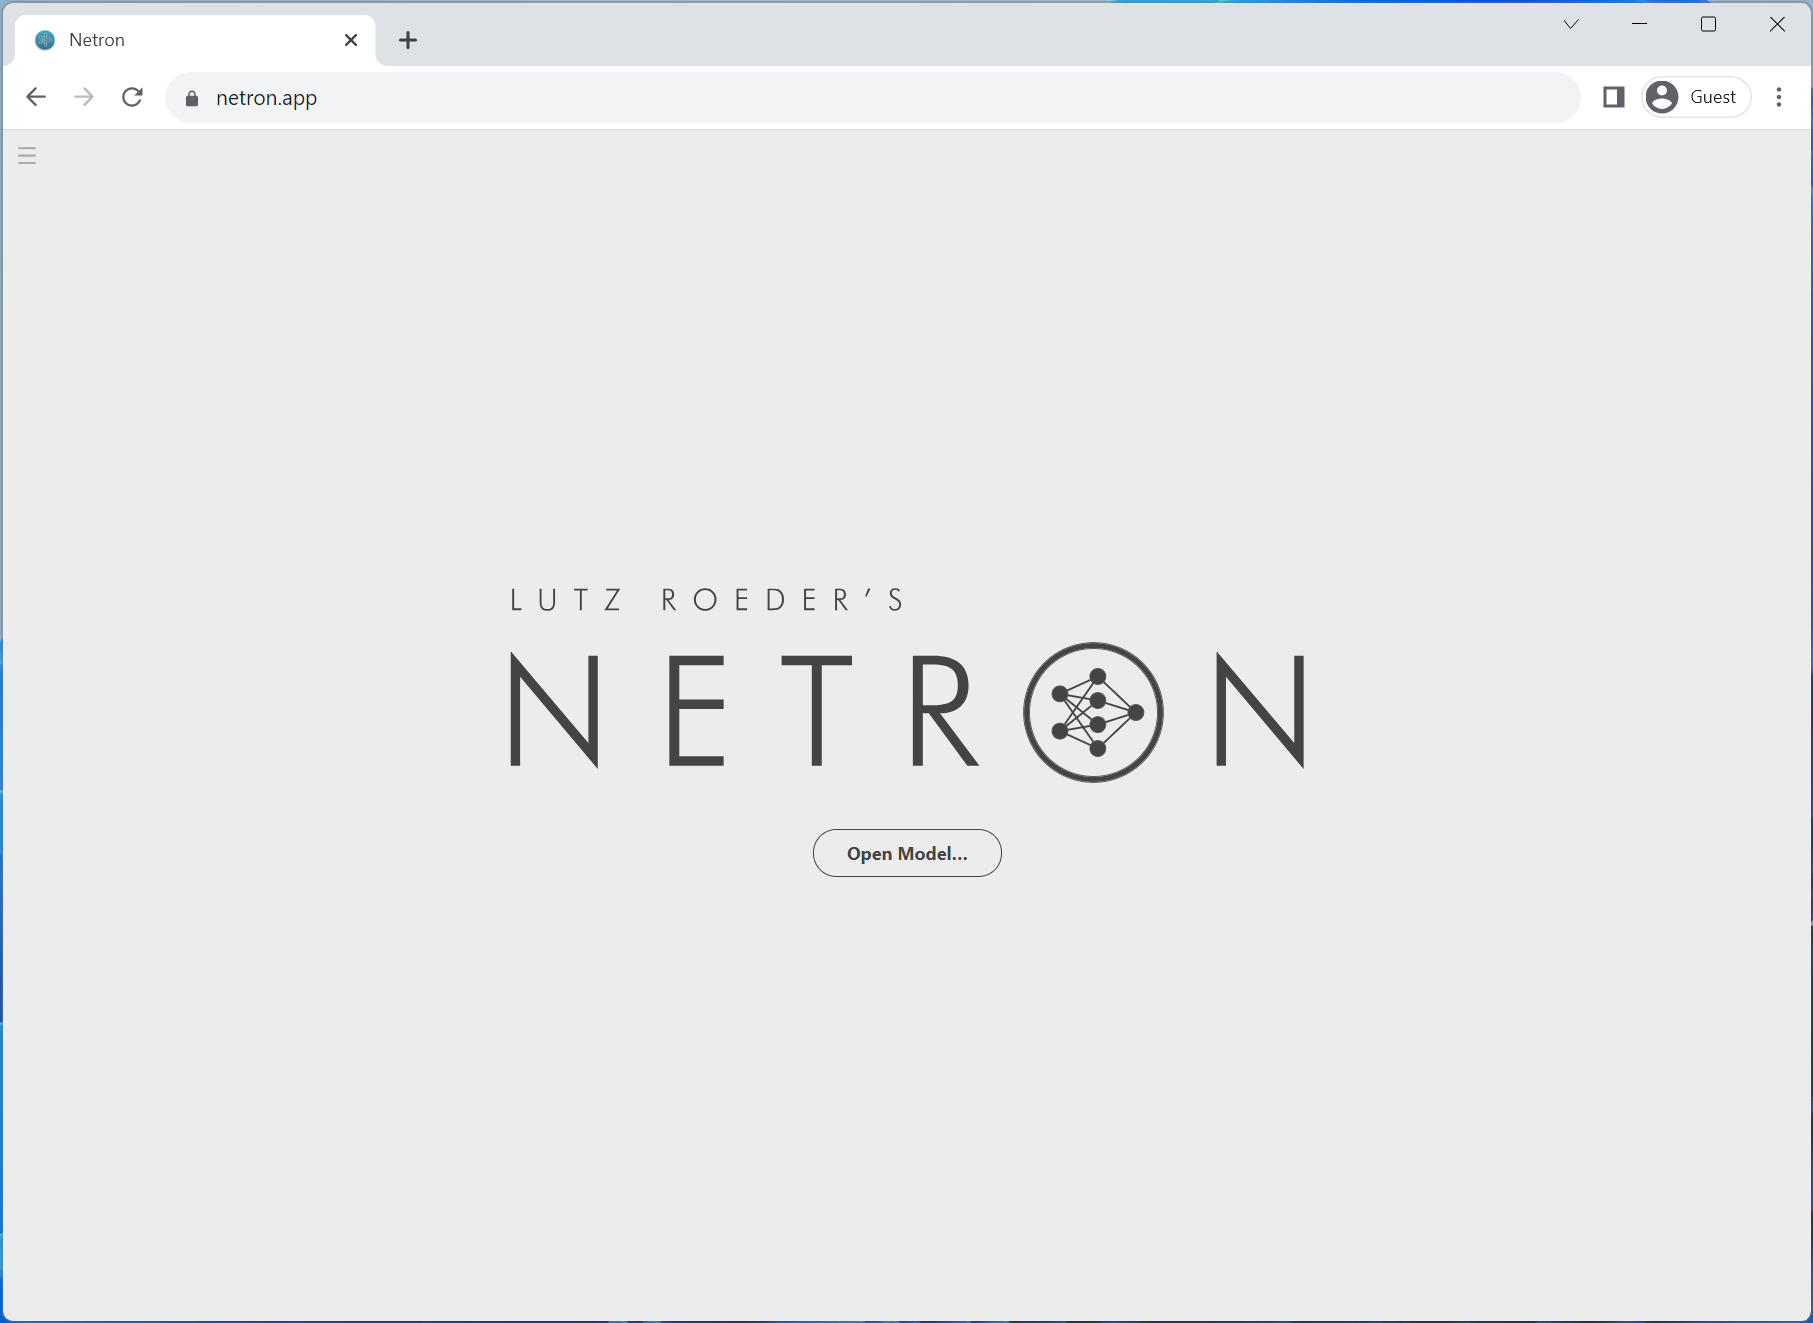
打开 Netron 后,我们可以将 image_classifier_model.onnx 文件拖放到浏览器中,或者点击打开模型按钮后选择它。
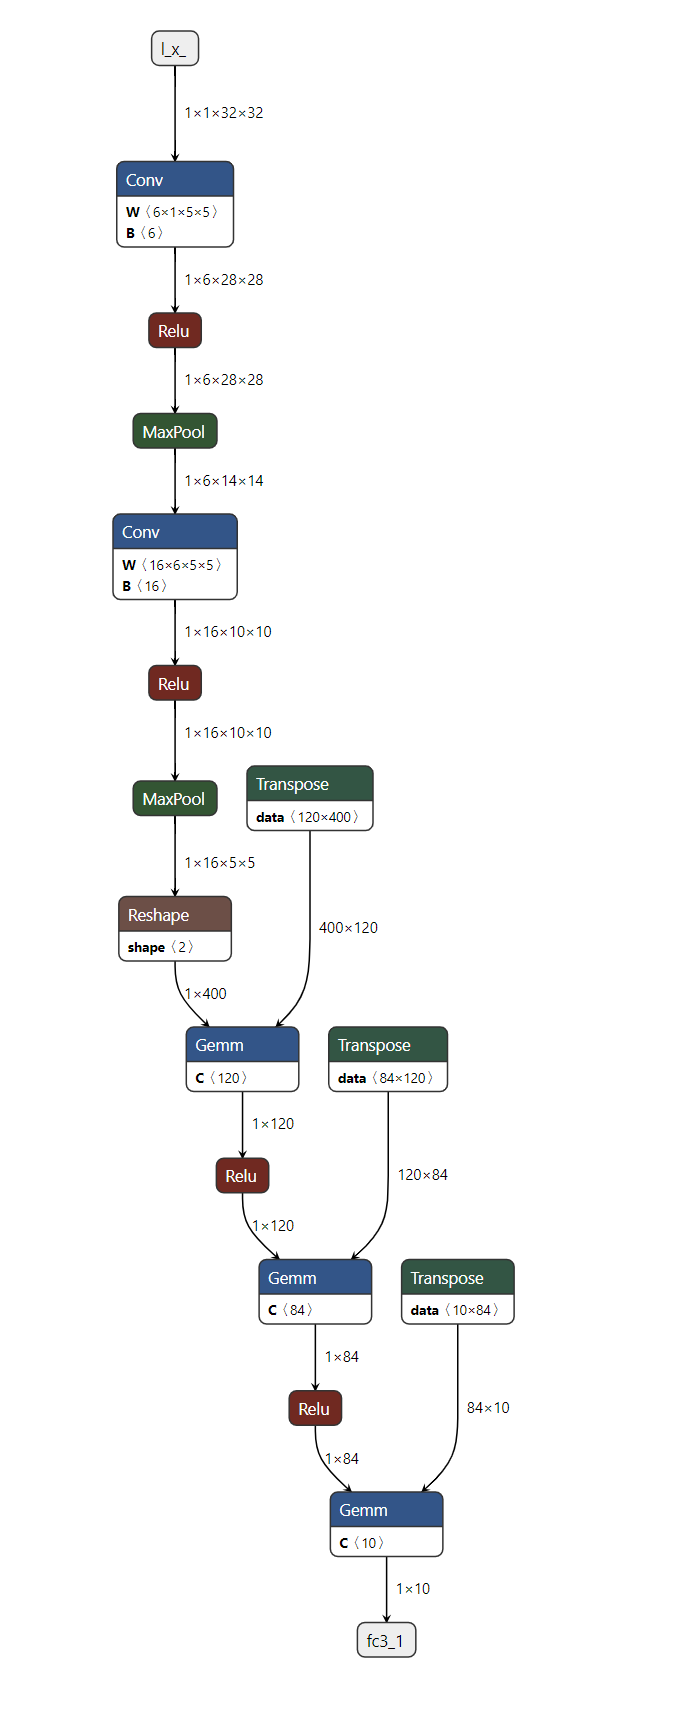
就这样!我们成功地将 PyTorch 模型导出为 ONNX 格式,并使用 Netron 对其进行了可视化。
6. 使用 ONNX Runtime 执行 ONNX 模型
最后一步是使用 ONNX Runtime 执行 ONNX 模型,但在执行之前,让我们先安装 ONNX Runtime。
pip install onnxruntime
ONNX 标准不支持 PyTorch 支持的所有数据结构和类型,因此在将其馈送到 ONNX Runtime 之前,我们需要将 PyTorch 输入适应 ONNX 格式。在我们的示例中,输入恰好是相同的,但在更复杂的模型中,它可能比原始 PyTorch 模型具有更多输入。
ONNX Runtime 需要一个额外的步骤,即将所有 PyTorch 张量转换为 Numpy (在 CPU 中),并将其包装在一个字典中,其中键是输入名称的字符串,值是 numpy 张量。
现在我们可以创建一个 ONNX Runtime 推理会话,使用处理后的输入执行 ONNX 模型并获取输出。在本教程中,ONNX Runtime 在 CPU 上执行,但也可以在 GPU 上执行。
import onnxruntime

onnx_inputs = [tensor.numpy(force=True) for tensor in example_inputs]
print(f"Input length: {len(onnx_inputs)}")
print(f"Sample input: {onnx_inputs}")

ort_session = onnxruntime.InferenceSession(
    "./image_classifier_model.onnx", providers=["CPUExecutionProvider"]
)

onnxruntime_input = {input_arg.name: input_value for input_arg, input_value in zip(ort_session.get_inputs(), onnx_inputs)}

# ONNX Runtime returns a list of outputs
onnxruntime_outputs = ort_session.run(None, onnxruntime_input)[0]
Input length: 1
Sample input: [array([[[[-1.0416038 ,  1.1125288 , -0.36015213, ..., -0.01891615,
          -1.2205342 ,  0.34716162],
         [ 0.6650918 ,  1.1037157 , -0.3673973 , ..., -1.4723971 ,
           0.25391102, -0.07882219],
         [-0.1238785 , -0.6457882 , -0.7785251 , ..., -0.26744807,
           0.30193356, -0.5681653 ],
         ...,
         [-0.02998495, -0.48333594, -0.39282662, ..., -1.2405719 ,
           0.84881294, -0.5473476 ],
         [-0.8185182 , -0.1276281 ,  0.34752363, ..., -1.0701932 ,
          -1.6922146 , -0.60484964],
         [ 0.8267504 , -0.02483911, -0.33541355, ..., -0.917776  ,
          -0.32401627,  0.7485422 ]]]], dtype=float32)]
7. 将 PyTorch 的结果与 ONNX Runtime 的结果进行比较
确定导出的模型是否良好运行的最佳方法是与作为我们事实来源的 PyTorch 进行数值评估。
为此,我们需要使用相同的输入执行 PyTorch 模型,并将结果与 ONNX Runtime 的结果进行比较。在比较结果之前,我们需要将 PyTorch 的输出转换为与 ONNX 格式匹配。
torch_outputs = torch_model(*example_inputs)

assert len(torch_outputs) == len(onnxruntime_outputs)
for torch_output, onnxruntime_output in zip(torch_outputs, onnxruntime_outputs):
    torch.testing.assert_close(torch_output, torch.tensor(onnxruntime_output))

print("PyTorch and ONNX Runtime output matched!")
print(f"Output length: {len(onnxruntime_outputs)}")
print(f"Sample output: {onnxruntime_outputs}")
PyTorch and ONNX Runtime output matched!
Output length: 1
Sample output: [[ 0.14531787 -0.05903321 -0.00652155  0.09054166  0.01458297 -0.08046442
  -0.12109031 -0.03938238 -0.01814789 -0.01363543]]
结论
就这些了!我们成功地将 PyTorch 模型导出为 ONNX 格式,将模型保存到磁盘,使用 Netron 查看,使用 ONNX Runtime 执行,并最终将其数值结果与 PyTorch 的结果进行了比较。
延伸阅读
下面的列表包含从基本示例到高级场景的教程,顺序不一定按此处所列。你可以随意直接跳到你感兴趣的特定主题,或者耐心阅读所有内容,了解 ONNX 导出器的所有知识。
脚本总运行时间: ( 0 分 1.249 秒)
