


注意
点击 这里 下载完整的示例代码
音频 I/O
作者: Moto Hira
本教程演示了如何使用 TorchAudio 的基本 I/O API 检查音频数据、将其加载到 PyTorch 张量中以及保存 PyTorch 张量。
警告
最近的版本中计划/进行了对音频 I/O 的多项更改。有关这些更改的详细信息,请参阅 调度程序迁移介绍。
import torch
import torchaudio

print(torch.__version__)
print(torchaudio.__version__)
2.4.0
2.4.0
准备
首先,我们导入模块并下载在本教程中使用的音频资产。
注意
在 Google Colab 中运行本教程时,使用以下命令安装所需的包
!pip install boto3
import io
import os
import tarfile
import tempfile

import boto3
import matplotlib.pyplot as plt
import requests
from botocore import UNSIGNED
from botocore.config import Config
from IPython.display import Audio
from torchaudio.utils import download_asset

SAMPLE_GSM = download_asset("tutorial-assets/steam-train-whistle-daniel_simon.gsm")
SAMPLE_WAV = download_asset("tutorial-assets/Lab41-SRI-VOiCES-src-sp0307-ch127535-sg0042.wav")
SAMPLE_WAV_8000 = download_asset("tutorial-assets/Lab41-SRI-VOiCES-src-sp0307-ch127535-sg0042-8000hz.wav")


def _hide_seek(obj):
    class _wrapper:
        def __init__(self, obj):
            self.obj = obj

        def read(self, n):
            return self.obj.read(n)

    return _wrapper(obj)
  0%|          | 0.00/7.99k [00:00<?, ?B/s]
100%|##########| 7.99k/7.99k [00:00<00:00, 10.9MB/s]

  0%|          | 0.00/53.2k [00:00<?, ?B/s]
100%|##########| 53.2k/53.2k [00:00<00:00, 43.3MB/s]
查询音频元数据
函数 torchaudio.info() 获取音频元数据。您可以提供路径类对象或文件类对象。
metadata = torchaudio.info(SAMPLE_WAV)
print(metadata)
AudioMetaData(sample_rate=16000, num_frames=54400, num_channels=1, bits_per_sample=16, encoding=PCM_S)
其中
sample_rate是音频的采样率num_channels是通道数num_frames是每个通道的帧数bits_per_sample是位深度encoding是样本编码格式
encoding 可以取以下值之一
"PCM_S": 有符号整数线性 PCM"PCM_U": 无符号整数线性 PCM"PCM_F": 浮点线性 PCM"FLAC": Flac,无损音频编解码器"ULAW": Mu-law,[维基百科]"ALAW": A-law [维基百科]"MP3": MP3,MPEG-1 音频层 III"VORBIS": OGG Vorbis [xiph.org]"AMR_NB": 自适应多速率 [维基百科]"AMR_WB": 自适应多速率宽带 [维基百科]"OPUS": Opus [opus-codec.org]"GSM": GSM-FR [维基百科]"HTK": 单通道 16 位 PCM"UNKNOWN"以上都不属于
注意
对于具有压缩和/或可变比特率(例如 MP3)的格式,
bits_per_sample可以为0。对于 GSM-FR 格式,
num_frames可以为0。
metadata = torchaudio.info(SAMPLE_GSM)
print(metadata)
AudioMetaData(sample_rate=8000, num_frames=39680, num_channels=1, bits_per_sample=0, encoding=GSM)
查询文件类对象
torchaudio.info() 对文件类对象有效。
AudioMetaData(sample_rate=44100, num_frames=109368, num_channels=2, bits_per_sample=16, encoding=PCM_S)
注意
传递文件类对象时,info 不会读取所有底层数据;它只读取开头的一部分数据。因此,对于给定的音频格式,它可能无法检索正确的元数据,包括格式本身。在这种情况下,您可以传递 format 参数来指定音频的格式。
加载音频数据
要加载音频数据,可以使用 torchaudio.load()。
此函数接受路径类对象或文件类对象作为输入。
返回值是波形 (Tensor) 和采样率 (int) 的元组。
默认情况下,生成的张量对象的 dtype=torch.float32,其值范围为 [-1.0, 1.0]。
有关支持的格式列表,请参阅 torchaudio 文档。
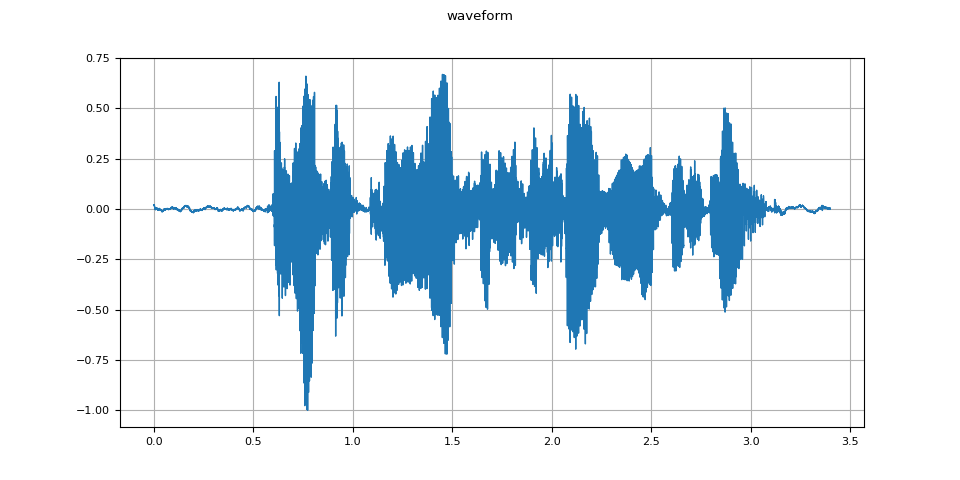
waveform, sample_rate = torchaudio.load(SAMPLE_WAV)
def plot_waveform(waveform, sample_rate):
    waveform = waveform.numpy()

    num_channels, num_frames = waveform.shape
    time_axis = torch.arange(0, num_frames) / sample_rate

    figure, axes = plt.subplots(num_channels, 1)
    if num_channels == 1:
        axes = [axes]
    for c in range(num_channels):
        axes[c].plot(time_axis, waveform[c], linewidth=1)
        axes[c].grid(True)
        if num_channels > 1:
            axes[c].set_ylabel(f"Channel {c+1}")
    figure.suptitle("waveform")
plot_waveform(waveform, sample_rate)
def plot_specgram(waveform, sample_rate, title="Spectrogram"):
    waveform = waveform.numpy()

    num_channels, num_frames = waveform.shape

    figure, axes = plt.subplots(num_channels, 1)
    if num_channels == 1:
        axes = [axes]
    for c in range(num_channels):
        axes[c].specgram(waveform[c], Fs=sample_rate)
        if num_channels > 1:
            axes[c].set_ylabel(f"Channel {c+1}")
    figure.suptitle(title)
plot_specgram(waveform, sample_rate)

Audio(waveform.numpy()[0], rate=sample_rate)
从文件类对象加载
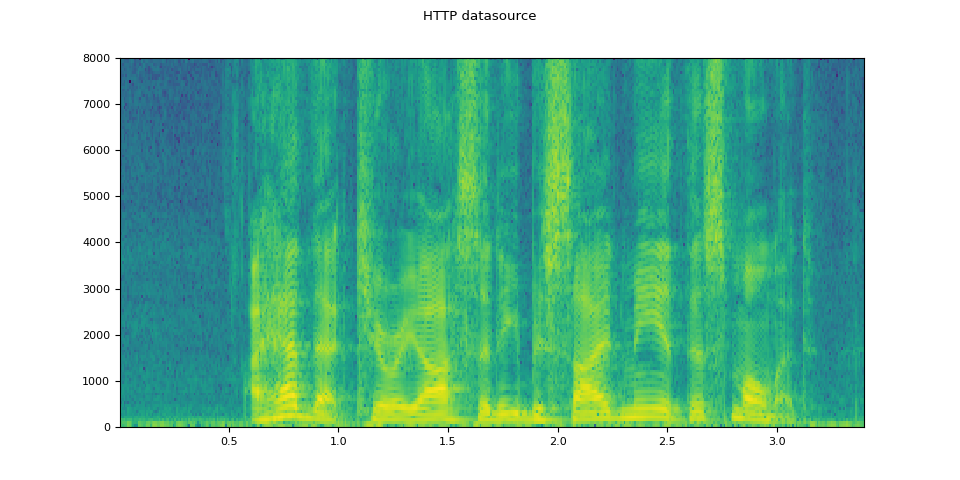
I/O 函数支持文件类对象。这允许从本地文件系统内部和外部的位置获取和解码音频数据。以下示例说明了这一点。
# Load audio data as HTTP request
url = "https://download.pytorch.org/torchaudio/tutorial-assets/Lab41-SRI-VOiCES-src-sp0307-ch127535-sg0042.wav"
with requests.get(url, stream=True) as response:
    waveform, sample_rate = torchaudio.load(_hide_seek(response.raw))
plot_specgram(waveform, sample_rate, title="HTTP datasource")
# Load audio from tar file
tar_path = download_asset("tutorial-assets/VOiCES_devkit.tar.gz")
tar_item = "VOiCES_devkit/source-16k/train/sp0307/Lab41-SRI-VOiCES-src-sp0307-ch127535-sg0042.wav"
with tarfile.open(tar_path, mode="r") as tarfile_:
    fileobj = tarfile_.extractfile(tar_item)
    waveform, sample_rate = torchaudio.load(fileobj)
plot_specgram(waveform, sample_rate, title="TAR file")

  0%|          | 0.00/110k [00:00<?, ?B/s]
100%|##########| 110k/110k [00:00<00:00, 71.2MB/s]
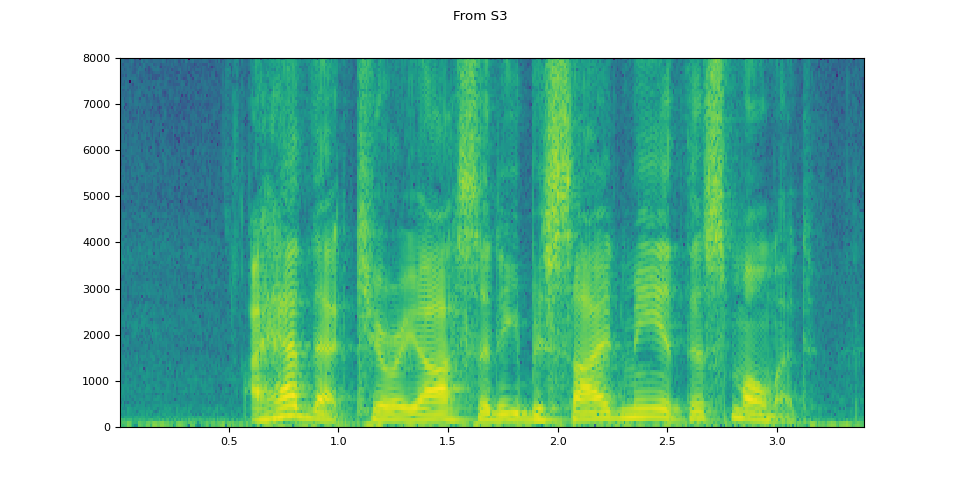
# Load audio from S3
bucket = "pytorch-tutorial-assets"
key = "VOiCES_devkit/source-16k/train/sp0307/Lab41-SRI-VOiCES-src-sp0307-ch127535-sg0042.wav"
client = boto3.client("s3", config=Config(signature_version=UNSIGNED))
response = client.get_object(Bucket=bucket, Key=key)
waveform, sample_rate = torchaudio.load(_hide_seek(response["Body"]))
plot_specgram(waveform, sample_rate, title="From S3")
关于切片的技巧
提供 num_frames 和 frame_offset 参数会将解码限制为输入的对应段。
可以使用普通张量切片获得相同的结果(即 waveform[:, frame_offset:frame_offset+num_frames])。但是,提供 num_frames 和 frame_offset 参数效率更高。
这是因为该函数将在完成对请求帧的解码后结束数据采集和解码。当音频数据通过网络传输时,这非常有利,因为数据传输将在获取必要数量的数据后立即停止。
以下示例说明了这一点。
# Illustration of two different decoding methods.
# The first one will fetch all the data and decode them, while
# the second one will stop fetching data once it completes decoding.
# The resulting waveforms are identical.

frame_offset, num_frames = 16000, 16000  # Fetch and decode the 1 - 2 seconds

url = "https://download.pytorch.org/torchaudio/tutorial-assets/Lab41-SRI-VOiCES-src-sp0307-ch127535-sg0042.wav"
print("Fetching all the data...")
with requests.get(url, stream=True) as response:
    waveform1, sample_rate1 = torchaudio.load(_hide_seek(response.raw))
    waveform1 = waveform1[:, frame_offset : frame_offset + num_frames]
    print(f" - Fetched {response.raw.tell()} bytes")

print("Fetching until the requested frames are available...")
with requests.get(url, stream=True) as response:
    waveform2, sample_rate2 = torchaudio.load(
        _hide_seek(response.raw), frame_offset=frame_offset, num_frames=num_frames
    )
    print(f" - Fetched {response.raw.tell()} bytes")

print("Checking the resulting waveform ... ", end="")
assert (waveform1 == waveform2).all()
print("matched!")
Fetching all the data...
 - Fetched 108844 bytes
Fetching until the requested frames are available...
 - Fetched 108844 bytes
Checking the resulting waveform ... matched!
将音频保存到文件
要以常见应用程序可以解释的格式保存音频数据,可以使用 torchaudio.save()。
此函数接受路径类对象或文件类对象。
当传递类文件对象时,您还需要提供参数 format,以便函数知道应该使用哪种格式。对于路径类对象,函数将从扩展名推断出格式。如果您要保存到没有扩展名的文件,则需要提供参数 format。
保存 WAV 格式的数据时,float32 张量的默认编码为 32 位浮点 PCM。您可以提供参数 encoding 和 bits_per_sample 来更改此行为。例如,要以 16 位有符号整数 PCM 保存数据,您可以执行以下操作。
注意
以较低位深度的编码保存数据会减小结果文件的大小,但也降低精度。
waveform, sample_rate = torchaudio.load(SAMPLE_WAV)
def inspect_file(path):
    print("-" * 10)
    print("Source:", path)
    print("-" * 10)
    print(f" - File size: {os.path.getsize(path)} bytes")
    print(f" - {torchaudio.info(path)}")
    print()
不使用任何编码选项保存。该函数将选择与提供的数据相符的编码
with tempfile.TemporaryDirectory() as tempdir:
    path = f"{tempdir}/save_example_default.wav"
    torchaudio.save(path, waveform, sample_rate)
    inspect_file(path)
----------
Source: /tmp/tmp0352ift3/save_example_default.wav
----------
 - File size: 108878 bytes
 - AudioMetaData(sample_rate=16000, num_frames=54400, num_channels=1, bits_per_sample=16, encoding=PCM_S)
以 16 位有符号整数线性 PCM 保存。结果文件占用一半的存储空间,但会损失精度
with tempfile.TemporaryDirectory() as tempdir:
    path = f"{tempdir}/save_example_PCM_S16.wav"
    torchaudio.save(path, waveform, sample_rate, encoding="PCM_S", bits_per_sample=16)
    inspect_file(path)
----------
Source: /tmp/tmpofr673mu/save_example_PCM_S16.wav
----------
 - File size: 108878 bytes
 - AudioMetaData(sample_rate=16000, num_frames=54400, num_channels=1, bits_per_sample=16, encoding=PCM_S)
torchaudio.save() 还可以处理其他格式。举几个例子
formats = [
    "flac",
    # "vorbis",
    # "sph",
    # "amb",
    # "amr-nb",
    # "gsm",
]
waveform, sample_rate = torchaudio.load(SAMPLE_WAV_8000)
with tempfile.TemporaryDirectory() as tempdir:
    for format in formats:
        path = f"{tempdir}/save_example.{format}"
        torchaudio.save(path, waveform, sample_rate, format=format)
        inspect_file(path)
----------
Source: /tmp/tmp43mc6ul4/save_example.flac
----------
 - File size: 45262 bytes
 - AudioMetaData(sample_rate=8000, num_frames=27200, num_channels=1, bits_per_sample=16, encoding=FLAC)
保存到类文件对象
与其他 I/O 函数类似,您可以将音频保存到类文件对象。当保存到类文件对象时,参数 format 是必需的。
waveform, sample_rate = torchaudio.load(SAMPLE_WAV)

# Saving to bytes buffer
buffer_ = io.BytesIO()
torchaudio.save(buffer_, waveform, sample_rate, format="wav")

buffer_.seek(0)
print(buffer_.read(16))
b'RIFFF\xa9\x01\x00WAVEfmt '
脚本的总运行时间: ( 0 分钟 1.983 秒)
